Wallet User Guide
Using the latest digital cryptography technologies and always ensuring privacy, One37's Identity Wallet, enables consumers to Acquire, Store and Share essential documents like ID cards, Driver's licenses, College degrees, insurance policies, and more.
The wallet also includes extended capabilities like On-Device Biometric Validation (with Liveness Detection), deployable client side workflows with customizable UX elements and is also a fully compliant OTP (One Time Password) generator.
The App is available for both Android ( v12+ ) and iOS ( v12+ ) platforms.
| Wallet Home | Contacts | Contact Profile |
|---|---|---|
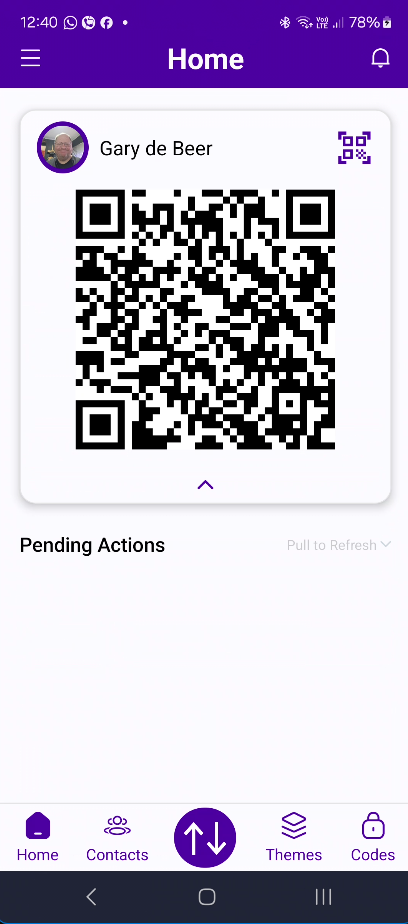 |  |  |
Home Screen
The Home Screen is the first screen that you see when you open the Wallet App.
The Home Screen displays the following:
-
Profile Picture: This is the picture that you uploaded when you created your account.
Tap on the picture to open the Profile Screen where you can view and edit your profile information. -
Name: This is the name that you entered when you created your account.
-
Qr Code: This is your unique QR code that you can use to share your contact information with others.
Tap on the QR code to copy its encoded data to the clipboard. -
Notification Bell: This is where you will see notifications from the Wallet App.
Tap on the bell to view your present or past notifications. -
Pending Actions: This is where you will see any pending actions that you need to complete.
Tap on the pending action card to view more details. -
Navigation Bar: This is where you can navigate to different screens in the Wallet App.
Navigation Bar
The Navigation Bar is located at the bottom of the Home Screen.
The Navigation Bar has the following options:
- Home: This is the Home Screen.
- Contacts: This is where you can view all your contacts.
- Interact Icon: This opens a menu to choose from the following options:
- Scan QR Code: This is where you can scan a QR code to add a new contact.
- Request for Data: This begins a wizard to request for data from a contact.
The wizard will guide you through the process of selecting the contact, selecting the data you want to request, and sending the request.
- Themes: feature comming soon
- Codes: Built in OTP generator
Contacts
The Contacts Screen is where you can view all your contacts which are displayed in a card or list format, along with a search bar at the top to search for contacts.
The contacts are displayed by Business, People, Devices and Group categories and can be filtered by their Trust Level.
| Contacts | Contact Details | Credential View | Contact Profile |
|---|---|---|---|
| 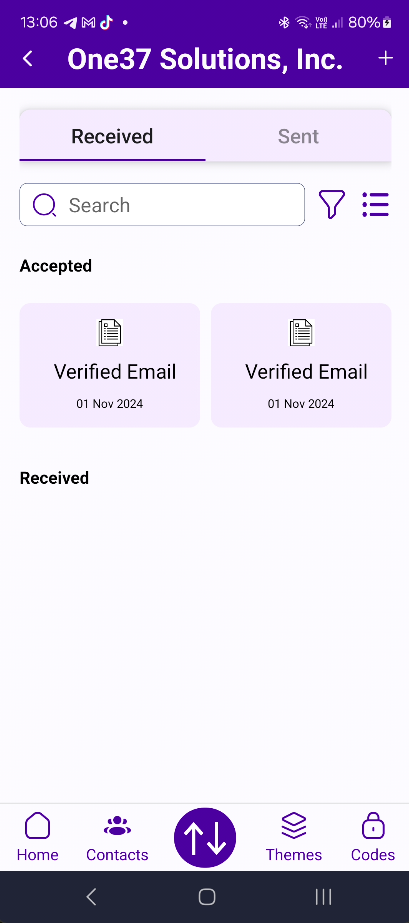 | 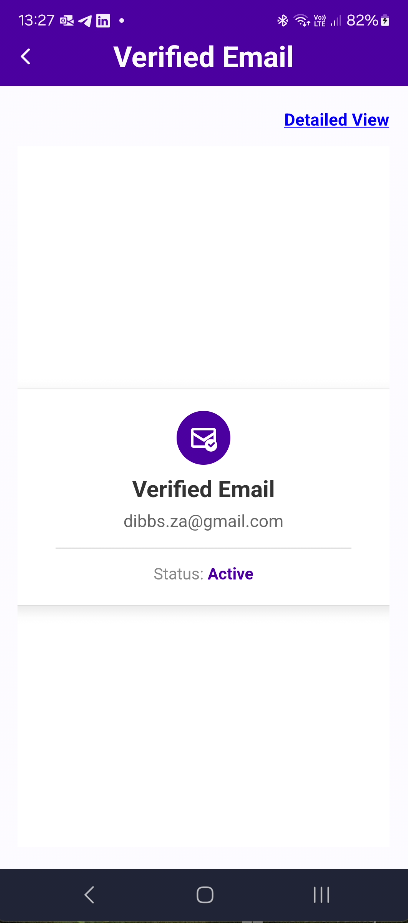 | |
Contact Details
The Contact Details Screen, which can be accessed by tapping on a contact card, displays all the Credentials that you have received from or shared with the contact. A search and filter option is available to search for specific credentials.
The + action button at the top right of the screen allows you to begin an interaction with the contact through any one of the workflows that they have made available.
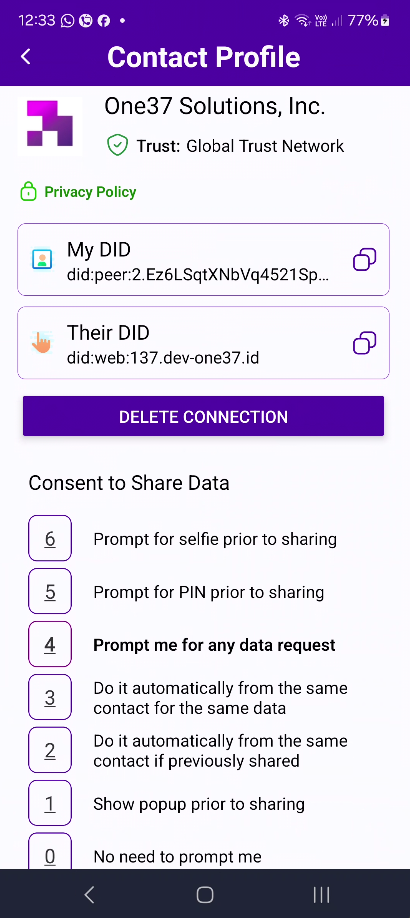
Contact Profile
The Contact Profile Screen can be accessed by tapping on the small info icon on a contact card in the Contacts Screen.
This is where you can view the profile of a contact and set preferences for how you want to interact with the contact.